
# Survey Control Point Naming Convention
The purpose of this guide is to standardize the way control points are named in the field/office. Points are to follow this naming convention so that you can determine what to type of mark they are just by the point ID shown on the controller screen.
# Summary of naming convention
As a basic rule survey control marks are to be named as follows:
| Control Type | Point Name |
|---|---|
| Ground Control points installed by others | DD01 to DD99 |
| Ground Control points installed by ThinkSpatial | DD0001 to DD9999 |
| Retro Targets | DD100B to DD199B |
| Monitor/L-Bar Prisms | DD200 to DD299 |
| Mini 360 Prisms | DD300 to DD399 |
Where DD is the first 2 letters or 2 letters of the street/road the point has been installed on.
B is the approximate cardinal direction the retro is facing.
# Ground Control Marks
There are several types of ground control used for traversing and the name is determined by the type of make and who installed the marks in the ground.
# ThinkSpatial Installed
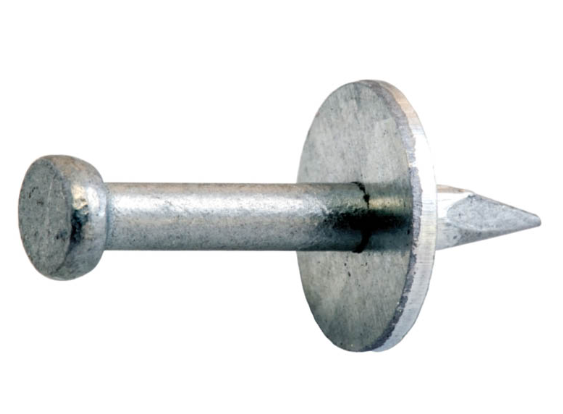
Marks installed by ThinkSpatial (from October 2018) consist of a nail and a collar with a unique ID number. This can be seen in below;
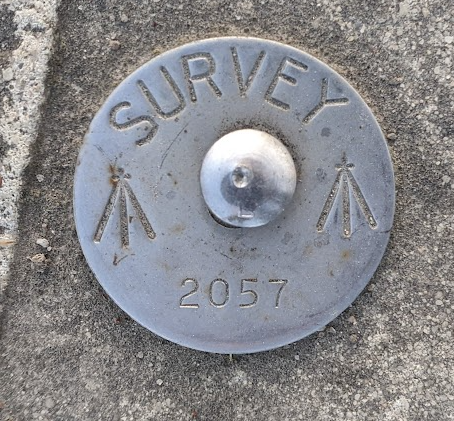
For the traverse these ThinkSpatial marks are entered into the controller as:
Name - DD#### Code – COLLAR ####
DD – The first 2 letters or 2 letters of the street/road they are on. Where they are placed on a corner of 2 roads the minor road is to be used as the description.
'#### - The unique ID number shown on the collar.'
# Other Ground Control Marks
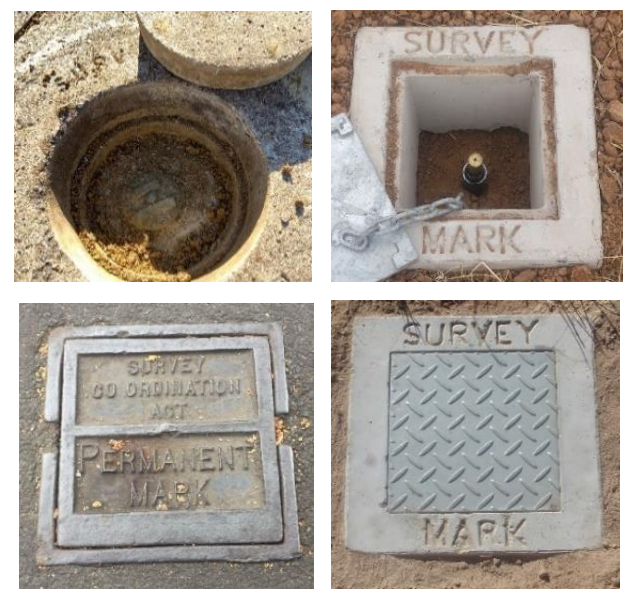
Marks installed from other surveyors or legacy ThinkSpatial ground control can come in various forms. Listed below (in preferred order) are the types of control marks you may come across:
# Permanent Survey Mark
Code – PSM
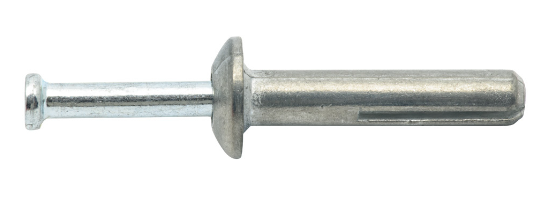
# Shuredrive
Code - Shuredrive
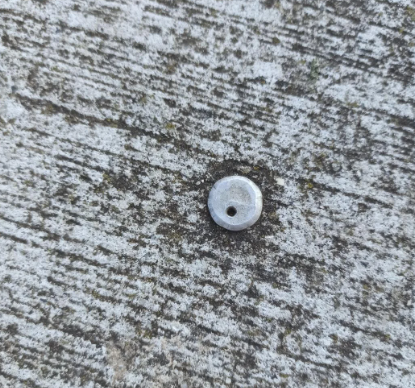
# Rivet
Code - Rivet
# GIN (Galvanised Iron Nail)
Code - GIN

# Mickey Pin
Code – Mickey Pin
For the traverse these marks are entered into the controller as:
Name - DD##
Code – (Type of control mark) Ie Shuredrive
DD – The first 2 letters or 2 letters of the street/road they are on. Where they are placed on a corner of 2 roads the minor road is to be used as the description.
'## - A unique number given to each point'
These names can be determined after the survey control network is processed. After the names have been finalized they should be sprayed up with a triangle around the mark and the point name next to the mark.
# Retro/Reflectorless Targets
Prism Constant 0mmRetro Targets are a form of secondary control put in after the survey network is processed. They are to be observed to several times using satisfactory resections from multiple locations before they are included in the master control file. The coordinate entered into the control file is an average of each of these observations.
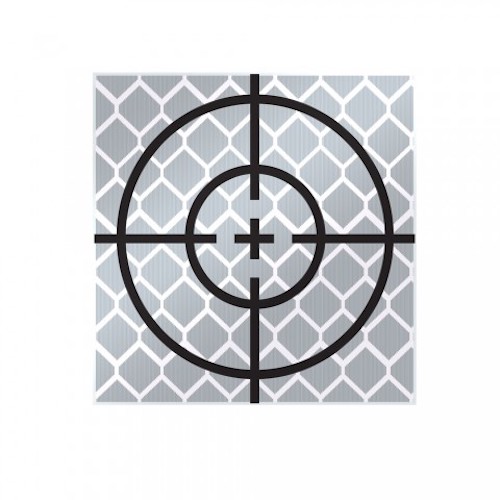
Retro targets are to be named using the following convention:
Name - DD1##B Code – What it is located on (Building, Light Pole, Fence etc)
DD – The first 2 letters or 2 letters of the street/road the target has been installed on.
1## - A unique “100” number for each target ID
B – The cardinal direction which the target is facing (North, East, South or West)
The name can be determined after the point is added to the control file. When it is finalized the ID name should be written on the retro target if possible.
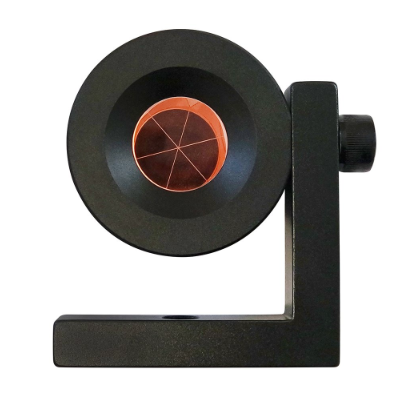
# Monitor/ L-Bar Prisms
Prism Constant -25mm
Monitor/L-Bar prisms can be used during the traverse or installed after as a form of secondary control. Generally, they are attached to steel surfaces using a magnet or bolted in a wall. When magnets are used, please use a permanent marker to trace around the magnet on the steel surface. This is to give the surveyor an indication if the prism has been moved from the original location.
If installed as a form of secondary control they are to be observed to several times using satisfactory resections from multiple locations before they are included in the master control file. The coordinate entered into the control file.
L-Bar are to be named using the following convention:
Name – DD2## Code – What it is located on (Staunchen, Building, Fence etc)
DD – The first 2 letters or 2 letters of the street/road the prism has been installed on.
1## - A unique “200” number for each target ID
The name can be determined after the point is added to the control file.
# Mini 360 Prism
Prism Constant -5mm
Mini 360 prisms can be used during the traverse or installed after as a form of secondary control. Generally, they are attached to steel surfaces using a magnet or bolted in a wall. When magnets are used, please use a permanent marker to trace around the magnet on the steel surface. This is to give the surveyor an indication if the prism has been moved from the original location.
If installed as a form of secondary control they are to be observed to several times using satisfactory resections from multiple locations before they are included in the master control file. The coordinate entered into the control file.

L-Bar are to be named using the following convention:
Name – DD3## Code – What it is located on (Staunchen, Building, Fence etc)
DD – The first 2 letters or 2 letters of the street/road the prism has been installed on.
1## - A unique “300” number for each target ID
The name can be determined after the point is added to the control file.