
# Traversing Procedure
# Before You Begin
You will require the following before you beging this work process:
# Software
• Trimble Access
• TBC (Once survey is completed)
# Hardware
• Total station
• Tripod
• Mini Prism
• TSC7 controller
# Surveying Control Points
- Open Trimble Access from icon on controller
- Create a New Project
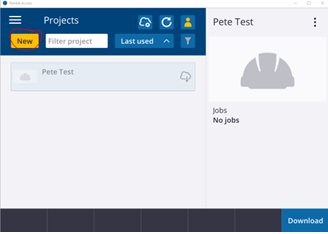
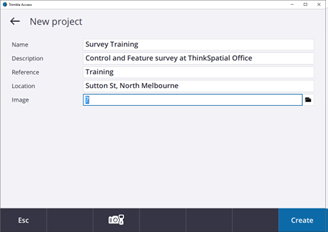
- Fill in the new project details. A project in Trimble access will hold all the “job” files that are completed for the works on that site/project. All the training work will be stored in this project. Select “Create” to create your project.
- Once the project is created the “job” file needs to be created. This is the file that will store the survey work completed in the field. At ThinkSpatial we use a initials first followed by the date in reverse order. This helps with sorting the files in surveyor then date order when required. Sometimes when multiple files are created in the one day another suffix can be put at the end of the file. In this example “-01” has been added. When a second “job” is started on the same day the suffix would increase to “-02” etc.
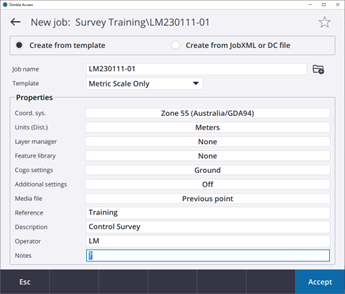 This needs to be Changed
TIP
If your “Coord. Sys” is different from above, click/touch the “Zone 55…” and the dialogue box below will be displayed. Go through and match these settings and select “Store”. This should make sure the same coordinate system is used. Once these match select “Accept”
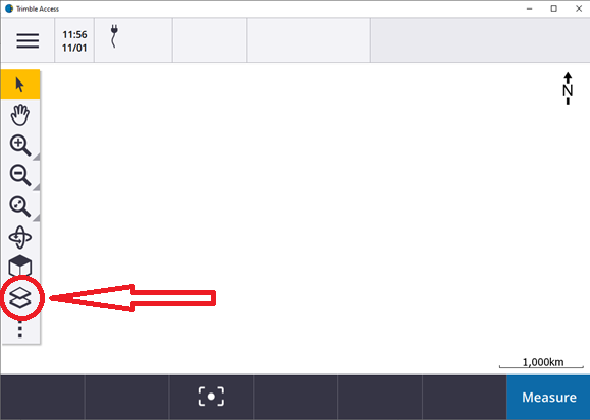
- This will load the map screen with options on the left

# Add CSV file to job
- We need to add the existing known coordinates to the job file so we can start our control survey. These coordinates would be received from the client or searched for on SMES etc. We have three coordinates that we can use and we need to survey the three remaining coordinates.
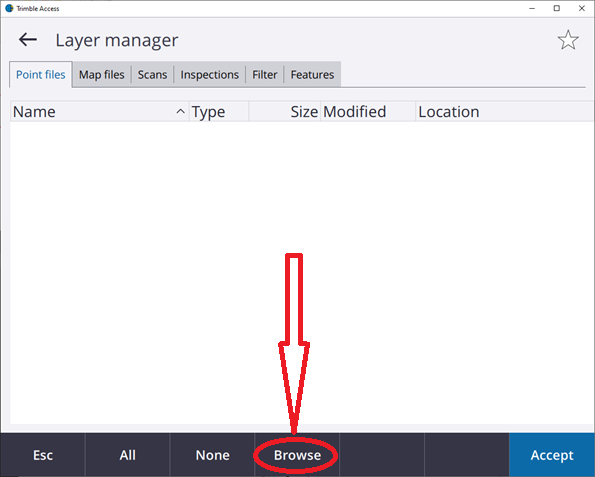
- CSV’s are added in the “Layer Manager” section, click/touch this to add and view various files and settings.
Point files (CSV/TXT), Map Files (dxf, dwg) etc are loaded into jobs from here using the browse button. Select the control file and “Accept”, then “Open” the job.
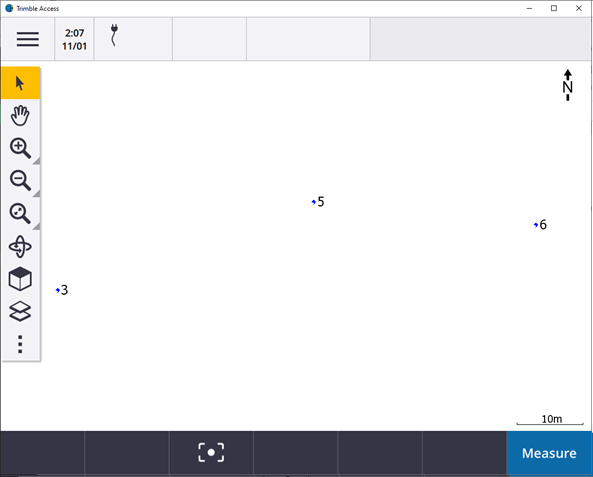
- Once opened the map screen will be displayed, select the “Zoom Extents”
 button and the three control points will be displayed.
# Set up Total station (Station Setup) and measure rounds
Once the coordinates are loaded the control survey can begin. To complete a robust control survey, all of the 6 points in the area need to be occupied with measurements observed to as many of the other points as can be seen.
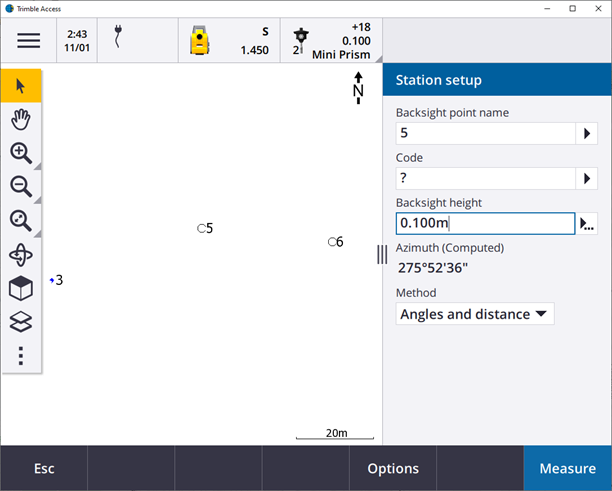
Start by setting up and levelling the Total Station on point 6 and observing a Backsight to Point 5.
Select the “Hamburger” -> “Measure” -> “VX & S Series” -> “Station Setup”
The initial orientation of the instrument is set by setting up on a known point (6) and observing angles and distances to another known point (5). Once the backsight is set, rounds of measurements to the other points can be completed.
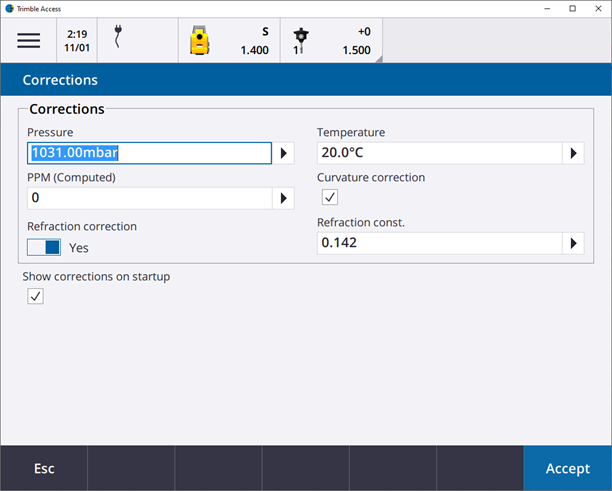
Enter the temperature into the corrections screen and accept the remaining corrections are populated automatically
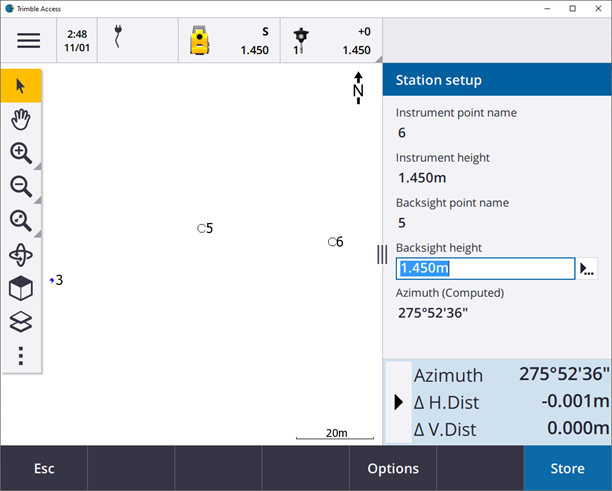
- Complete the station setup by entering the instrument point and backsight point. Make sure the method is “Angles and Distances”. Note that Height in this example is “Bottom of Notch” for the TS, make sure you understand the difference between “bottom of notch” and “true height”. Also ensure you have the correct target selected, most likely the mini prism.
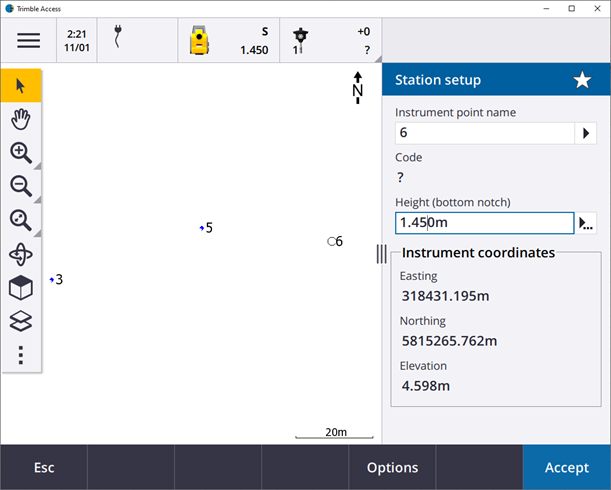
- Measure the BS and store the result.
- Now the rounds to all the observable points can be surveyed. Select the “Hamburger” -> “Measure” -> “Measure Rounds”. The backsight point will come up as it has already been measured, accept and take a FR measurement. Enter the name of the next point, which will most likely be one you have no coordinates for. In my example I am using point 1. Point the TS to the point and ensure the correct prism is selected and measure the point.
- At the bottom of the screen find “+ point” and continue measuring all points that are visible from current setup. Once measured, select “end face” for the rounds to start. This will automatically turn to each point and measure, follow the instructions on the screen. Measure Rounds
- Repeat the above steps until all 6 points have been occupied and measurements taken to all other visible points.